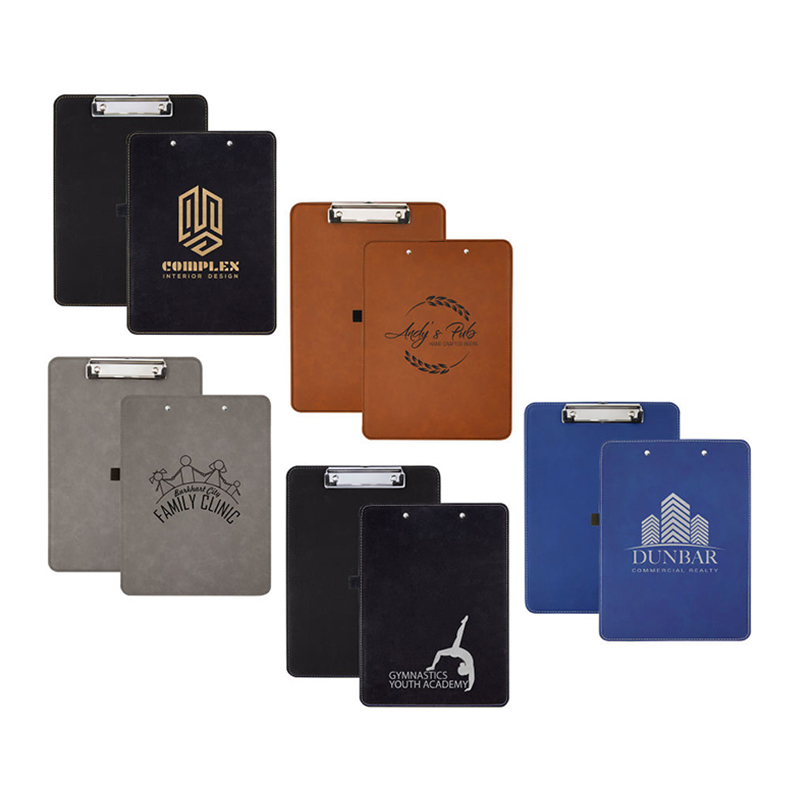
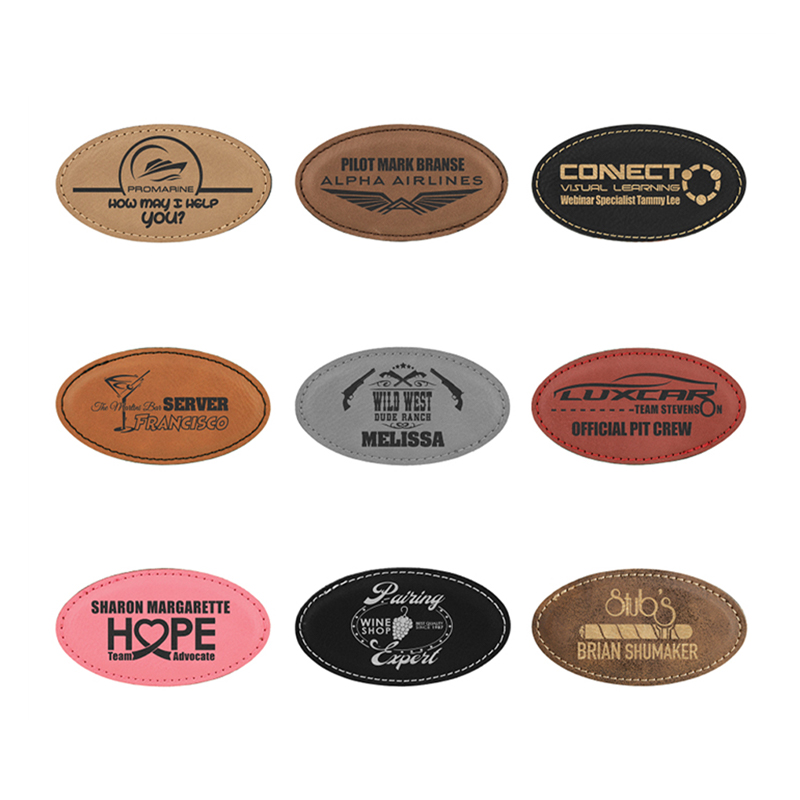
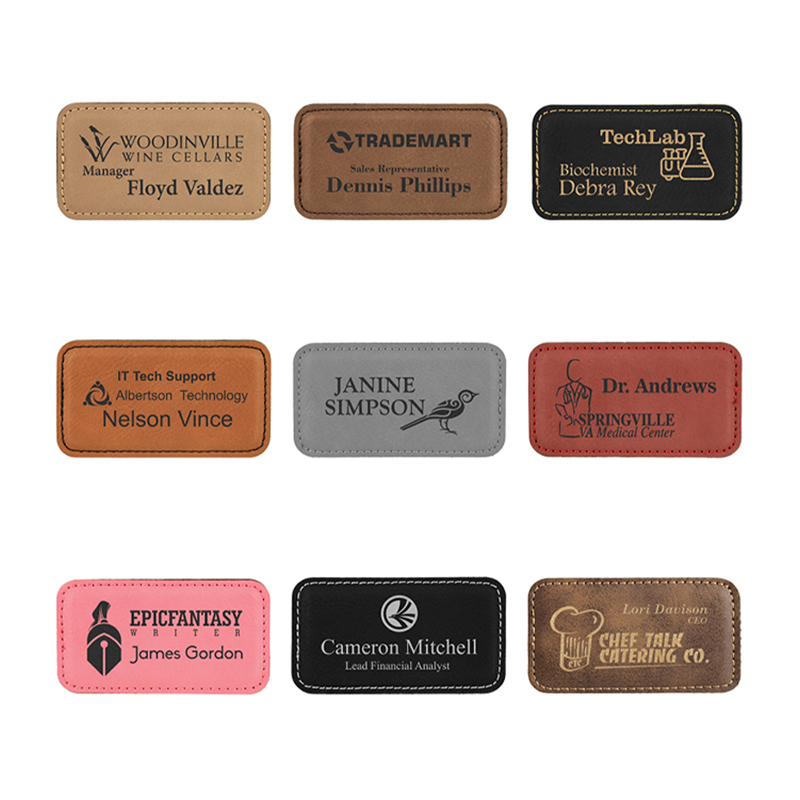
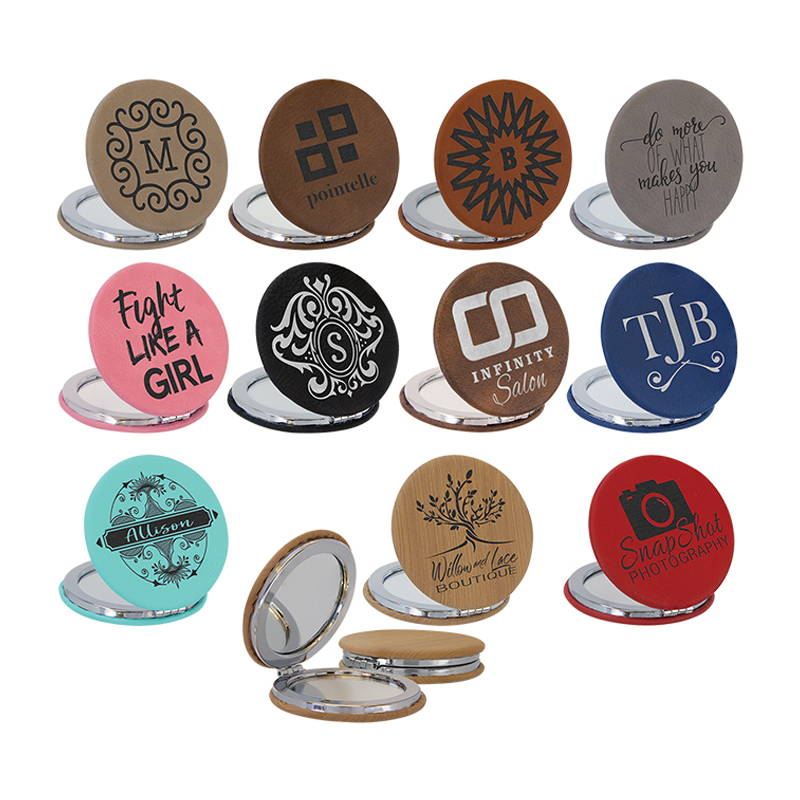
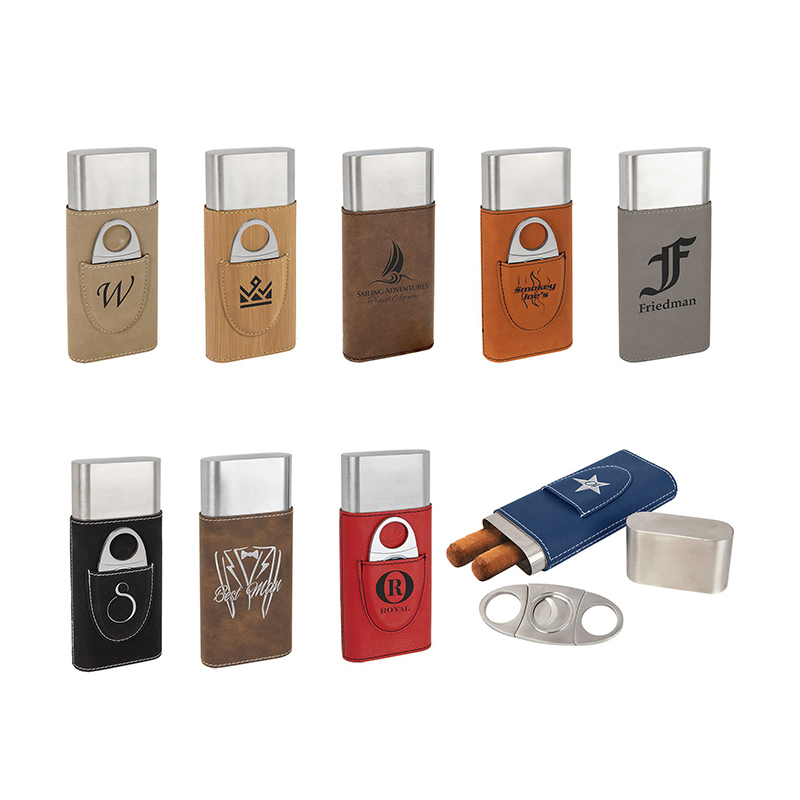
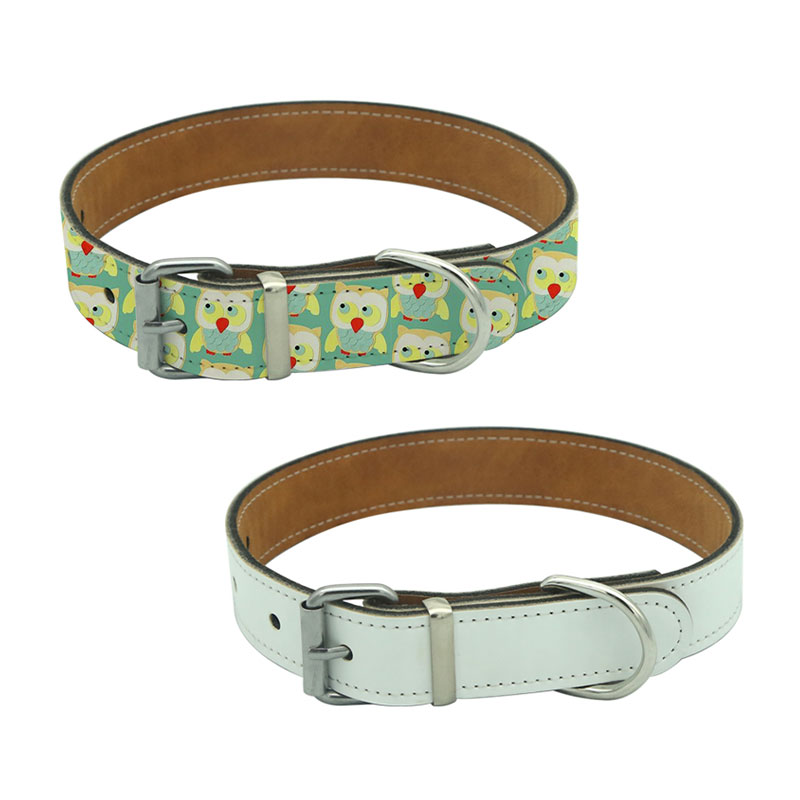

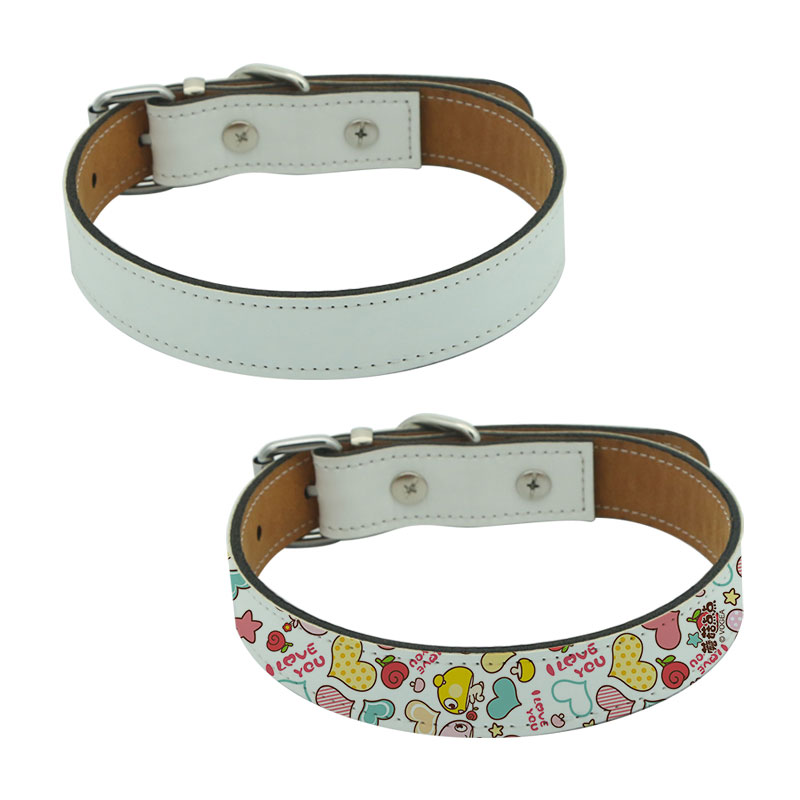
Introduction des colliers pour animaux de compagnie en similicuir Présentez brièvement les colliers pour animaux de compagnie en similicuir et leur popularité croissante....
Read More

Sublimation Temperature for Materials: Time, Heat Settings, and Failure Points
2026-09-03A Production Guide for Heat Press Workshops
Sublimation Temperature by Material: Where the Heat Window Really Sits
A pale patch, a yellowed wallet cover, a warped ornament — nearly every sublimation reject traces back to one number applied to the wrong blank. This guide pairs temperature with the materials it actually suits, before the press closes.
A patch comes off the press with a pale center and amber edges. The design, transfer paper, and settings are the same ones that produced a clean batch last week, so the first suspect is usually the printer profile. In most cases the printer is innocent. The variable that actually changed is the blank: a different material under the paper, pressed at a temperature it was never meant to see.
The rule that prevents this is simple to state. The material sets the sublimation temperature, not the design. Polyester fabrics and coated hard goods develop full color between 380 and 400°F (193-204°C). Sublimation leatherette needs roughly 285-320°F (149-160°C) or its surface degrades before the dye develops. Coated jute, burlap, and canvas fall between those poles, and adhesive-backed blanks add a second ceiling because the glue line fails before the color does. Learn each material's window, learn what failure looks like outside it, and spoiled blanks stop being a line item in your cost of goods.
What Sublimation Temperature Actually Does to Materials
Sublimation ink begins as a solid dye sitting on transfer paper. Under heat it skips the liquid stage entirely and becomes gas, and that gas only bonds where polymer chains are ready to receive it: a polyester fiber, a poly coating on a ceramic mug, or the engineered face of a purpose-made blank. Temperature is what opens that door, and the window is narrower than most newcomers expect.
Below the window, the dye never fully converts and color prints thin and washed out no matter how long the press stays closed. Inside the window, color develops completely while the substrate stays intact. Above it, two failures arrive together: the dye over-drives and can push back out of the coating, and the substrate itself begins to suffer — coatings yellow, plastic bodies warp, fabric shrinks, and adhesives soften. Time and pressure matter, but temperature is the least forgiving variable because damage accumulates in seconds, not minutes.
One production reality deserves its own paragraph: a press display is a claim, not a measurement. Platen surfaces routinely run 10 to 15°F away from the set point, and the gap grows as heating elements age. This is why experienced operators calibrate against test blanks rather than trusting the readout.
A heat press does not reward power. It rewards staying inside a narrow window long enough for the dye to gas and the polymer to accept it — and stopping there.
Info
Pre-press fabric, jute, and coated blanks for 5 to 10 seconds before every transfer. Trapped moisture flashes into steam mid-press and pushes ink away from the surface, which shows up later as faded patches or blurred edges. Those few seconds remove the most common reject cause in the shop.
Sublimation Temperature and Time by Material
The chart below collects typical starting points for the materials that dominate blank work, assuming a calibrated flat press. Treat every figure as a beginning, not an answer: each press, ink, and paper combination shifts the optimum slightly, so adjust in small steps and record what works. Where a supplier prints a rated window on the packaging, that rating overrides any generic chart, including this one.
| Material | Temperature | Time | Pressure | Watch-outs |
|---|---|---|---|---|
| Polyester fabric and poly patches | 380-400°F (193-204°C) | 45-60 seconds | Medium | Ghosting if the transfer shifts at press opening |
| Poly-coated ceramic | 380-400°F (193-204°C) | 2.5-3 minutes in a mug press | Firm | Thick bases heat unevenly near the handle |
| Poly-coated metal | 370-400°F (188-204°C) | 45-60 seconds | Medium | Peel after cooling to prevent dye blowout |
| Coated jute, burlap, and canvas | 355-375°F (179-191°C) | 45-60 seconds | Medium | Woven texture leaves lighter flecks by design |
| Sublimation leatherette | 285-320°F (149-160°C) | 30-45 seconds | Light to medium | Yellowing, gloss shift, and glue bleed above the window |
| Poly-coated glass | 350-400°F (177-204°C) | 5-7 minutes, oven or mug press | Light | Cool slowly; thermal shock cracks glass |
The two ends of the chart behave differently. Hard goods and 100 percent polyester fabrics tolerate a little extra heat — the cost is slight vibrancy loss, rarely a ruined piece. Leatherette and adhesive-backed products are the opposite: they forgive downward, not upward.
Where two settings could both work, choose the cooler one. Color loss can be recovered with a longer press or a second run; a scorched coating or a bleeding glue line cannot.
Why Leatherette Runs Cooler
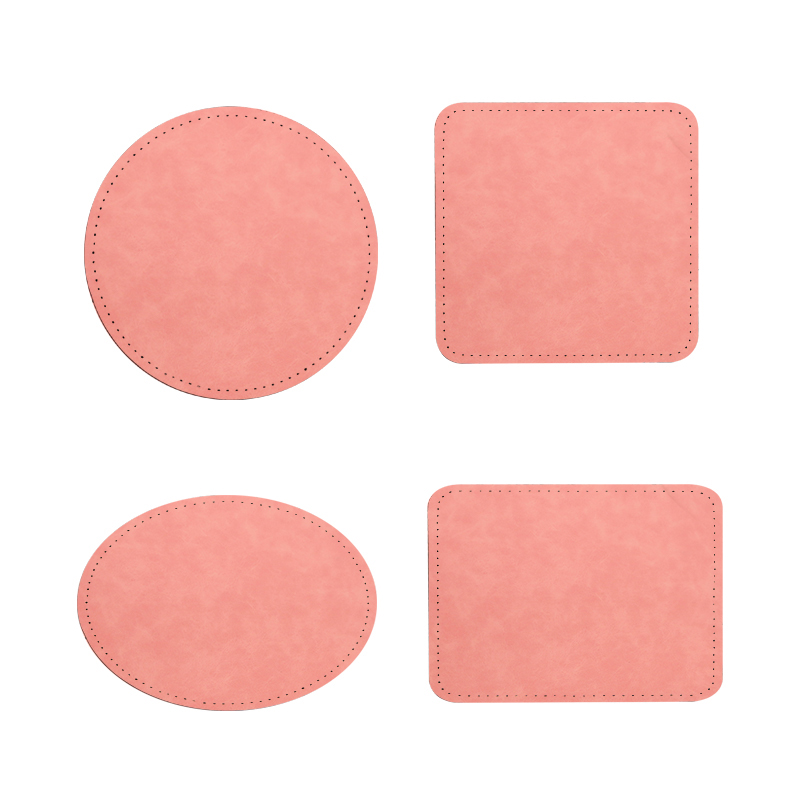
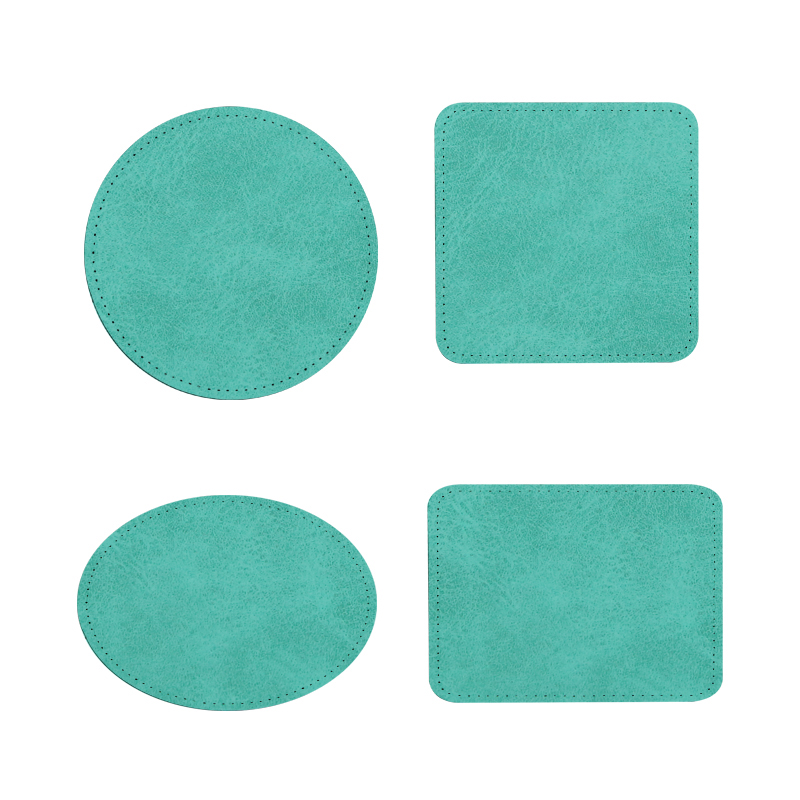
Leatherette is a polymer face bonded to a fabric body, and on patches that body often carries a pressure-sensitive adhesive. The face accepts dye beautifully, but the structure is heat-limited. Push far past 320°F and the coating can blister or shift from matte to glossy, the adhesive migrates toward the edges, and a merrow border stiffens. That is why credible leatherette settings sit 60 to 100°F below the polyester range. Color depth does not have to be sacrificed to get there — we examined how sublimation leatherette patches match up on color vibrancy in a separate comparison — but the margin for error is narrower, which makes a low starting point and a test patch non-negotiable.
A plain round patch is the cleanest vehicle for dialing in a leatherette window:
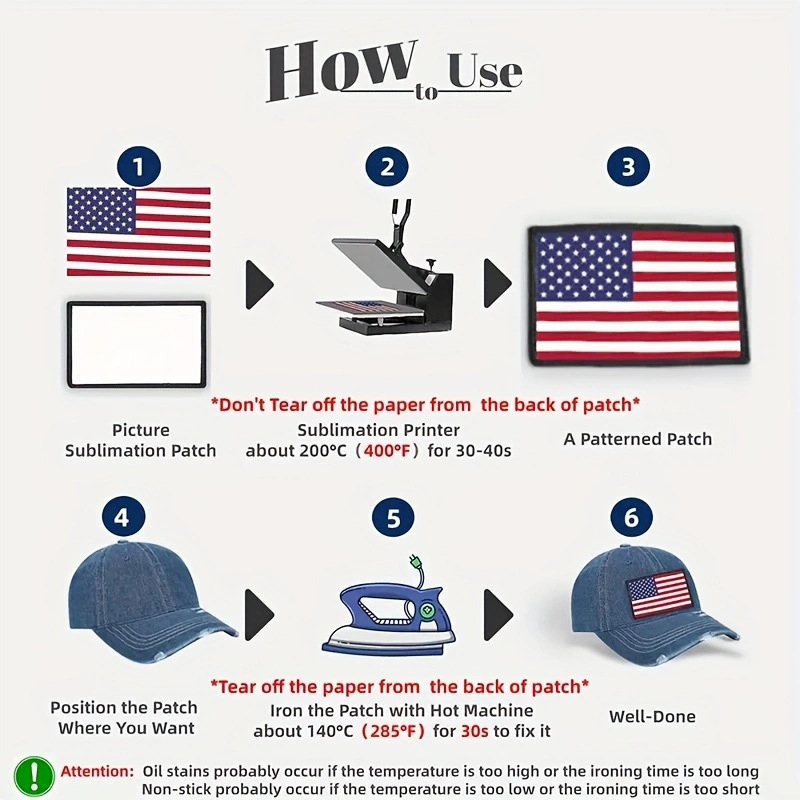 2.5" Round Sublimation Leatherette Patch with Adhesive A plain round leatherette patch with self-adhesive backing, ideal as the cleanest blank for dialing in sublimation settings. It accepts full-color prints and peels ready for heat press application. View Product →
 Success
Run a three-patch test at the low, middle, and top of the stated range before any production run. Three blanks and one sheet of transfer paper buy a setting you can defend to a customer. Re-test whenever the press is repaired, a new material batch arrives, or a new press joins the floor — settings do not transfer between machines.
What the Wrong Temperature Looks Like
Temperature faults leave recognizable signatures, and reading them correctly is what saves the next run. Five patterns account for the overwhelming majority of sublimation rejects:
- Faded, washed-out color: temperature too low or time too short. The dye never fully gassed, so more heat — not more pressure — is the fix.
- Amber or yellowed background: too hot or too long for the blank. The coating is scorching, and no printer adjustment will correct it.
- Ghosted or doubled edges: the paper shifted at press opening, or dye kept migrating after the blank left the platen. Tape the transfer down securely and cool the piece flat.
- Warped or shrunk blanks: a thin or plastic-bodied product pressed above its rating. The material itself has moved, and it will not move back.
- Shiny bleed at patch edges: an adhesive-backed blank run too hot or too long. The glue line failed before the print did.
Warning
Adhesive-backed blanks fail at the glue line before the print fails. If edges show bleed, drop 10 to 15°F before touching pressure, and never compensate by adding padding under the blank — extra layers spread heat unevenly across the platen.
Danger
Some materials do not belong in a heat press at any setting. Unknown plastics can melt or warp, PVC releases fumes when heated, uncoated glass can shatter, and low-grade acrylic clouds or loses its shape. Press only blanks sold and rated for sublimation, and keep a written note of any product a supplier flags as temperature-limited.
Choosing Blanks That Forgive Small Errors
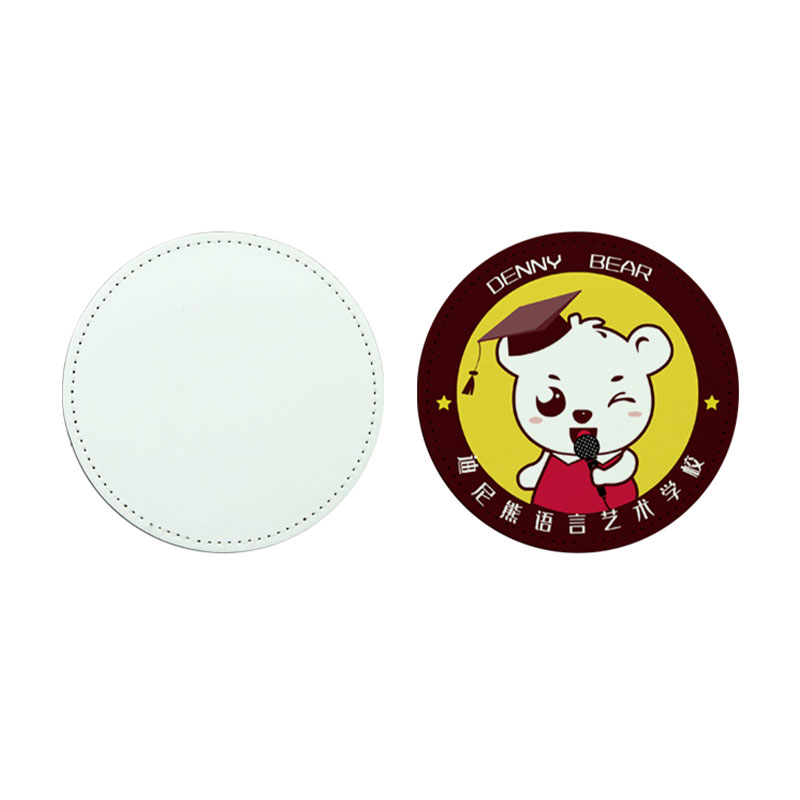
The practical conclusion for anyone buying blanks at volume is that not every product punishes a ten-degree mistake equally. Blanks engineered for sublimation carry coatings formulated to accept dye inside a published window, which is what lets a workshop standardize one setting per material family instead of re-testing every SKU. The specification line matters as much as the temperature chart: single-side versus double-side printable tells you how many press cycles a piece will see, an adhesive backing tells you where the temperature ceiling sits, and a merrow border tells you the edge will survive handling and stitching after pressing.
Material breadth helps procurement the same way. Leatherette carries the premium, engraving-adjacent look; fabric patches bring apparel-grade flexibility; jute and canvas add woven texture that disguises minor coverage faults; and finished goods — coasters, luggage tags, notebooks, wallets — arrive ready to press with no cutting or sewing between printing and sale. The full range of sublimation blanks , from patches to passport cases, follows the same logic: the material is chosen first, and the correct temperature is simply its published property.
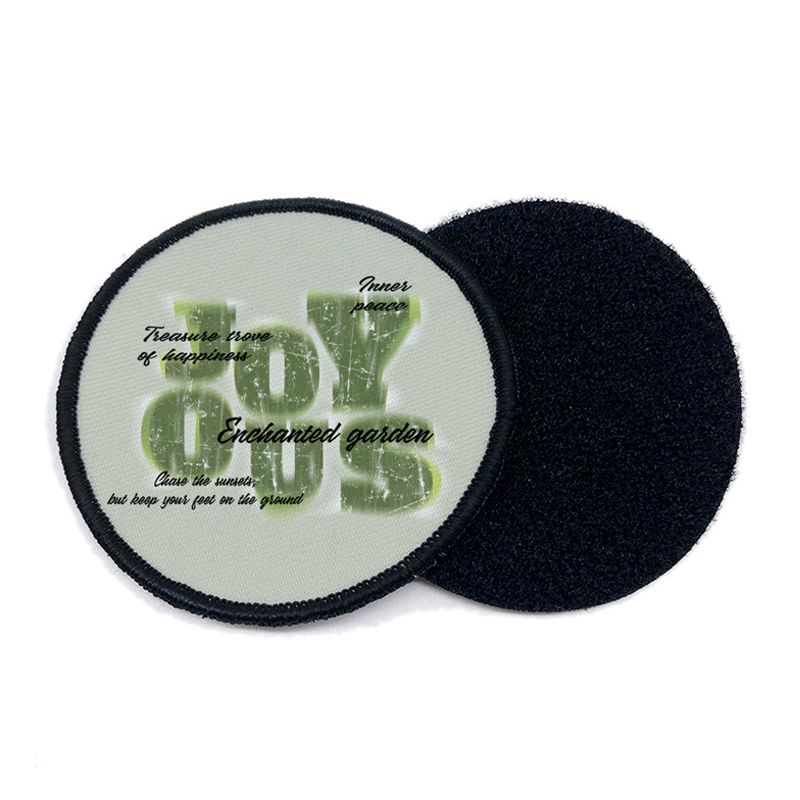
For apparel-side work, a fabric merrow patch with adhesive is the natural companion test to the leatherette round:
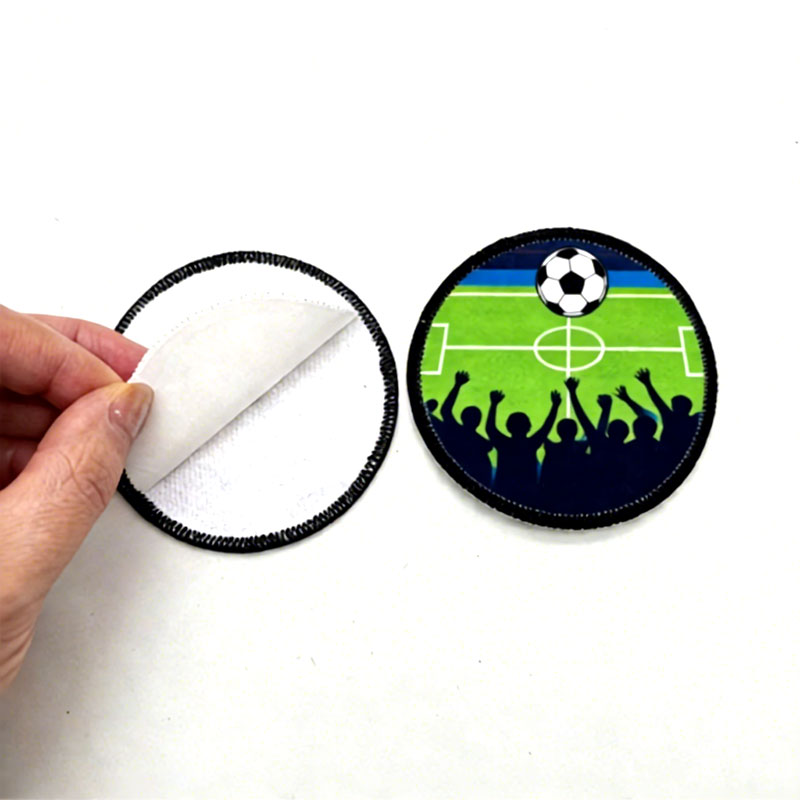 2.5" Round Sublimation Fabric Merrow Patch with Adhesive This fabric patch pairs vibrant sublimation printing with a durable Merrow-stitched edge and self-adhesive backing. It makes a natural companion test to the leatherette round for apparel-side press work. View Product →
 Where texture is part of the design, a jute piece shows how much character a coated natural surface keeps at moderate heat:
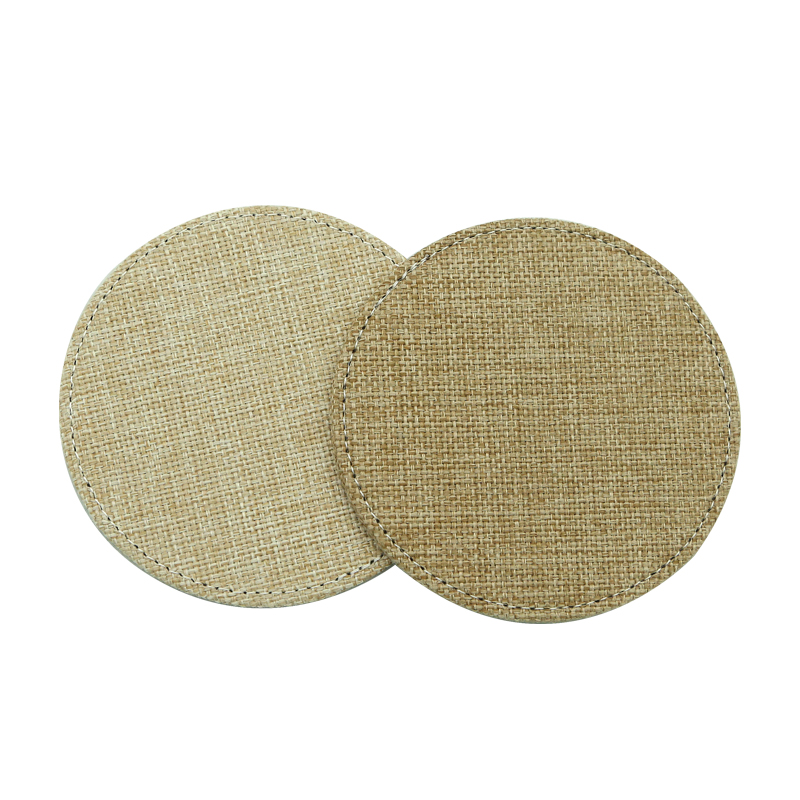 Round Sublimation Jute Coaster A round jute coaster that keeps its natural texture under moderate heat while accepting vivid sublimation prints. It shows how coated natural surfaces hold character, sold singly in cases of six. View Product →
 Treat sublimation temperature as a property of the blank rather than a number on the press. Start at the low end of the material's window, pre-press to drive off moisture, run a three-point test on every new batch, and log the results where the operator can see them. Follow that routine and the chart above turns from a list of averages into a working standard, while the failure patterns described earlier become rare enough to investigate instead of routine enough to ignore. And when a new material or a new supplier enters the picture, ask for the rated temperature window before the first production run — not after the first rejected box.
PRÉV: Aucun article précédent
SUIVANT: Laserable Leatherette Sheets with Adhesive: The Buyer's Guide to Engraving
Contactez-nous
Votre adresse email ne sera pas publiée. Les champs obligatoires sont marqués*
Catégories
Catégorie de produit

Contactez-nous
Besoin d'aide ? Envoyez-nous un courriel maintenant
Blogue
-
-
Pourquoi choestir des patchs en cuir gravés au laser pour des designs personnalisés de haute qualité ? Lousqu'il s'agit de créations personnalisées pour ...
Read More -
Introduction au similicuir laserable Qu’est-ce que le similicuir laser ? Le similicuir laser fait référence à un type de matériau en similicuir conçu pour bien répondr...
Read More -
Dévoilement du monde des sous-verres en similicuir : au-delà de la vaisselle de base Définir le dessous de verre : un accessoire essentiel pour la maison Avant d'...
Read More

-
86-15851089634

-
[email protected]

-
Salle 3110, bâtiment 6, Jinrongcheng, 5 avenue Shiji, district de Yandu, ville de Yancheng, province du Jiangsu, Chine

-
109#, équipe 1, Longnian, Nanyang, Tinghu, Yancheng, Jiangsu, Chine, code postal : 224000
- LIENS RAPIDES

